Eye makeup is often considered the focal point of any makeup look. With the right techniques and understanding of your unique eye shape, you can create captivating looks for any occasion.
Understanding Your Eye Shape
Before diving into application techniques, it's essential to identify your eye shape. Professional visagistes always analyze eye shape first, as this determines the most flattering placement and techniques.
Common Eye Shapes:
- Almond Eyes: Symmetrical oval shape with a slight upward tilt at the outer corners
- Round Eyes: Circular in shape with visible white around the iris
- Hooded Eyes: Extra skin folds down from the brow bone, covering the crease
- Monolid Eyes: No visible crease, flat eyelid
- Downturned Eyes: Outer corners tilt downward
- Upturned Eyes: Outer corners tilt upward (cat-like appearance)
- Deep-Set Eyes: Set deeper into the skull beneath a prominent brow bone
- Protruding Eyes: Eyelids appear to bulge outward
To determine your eye shape, look straight into a mirror with a relaxed expression. Observe the visibility of your crease, the amount of lid space, and the direction of your outer corners.

Common eye shapes and their characteristics
Essential Eye Makeup Tools
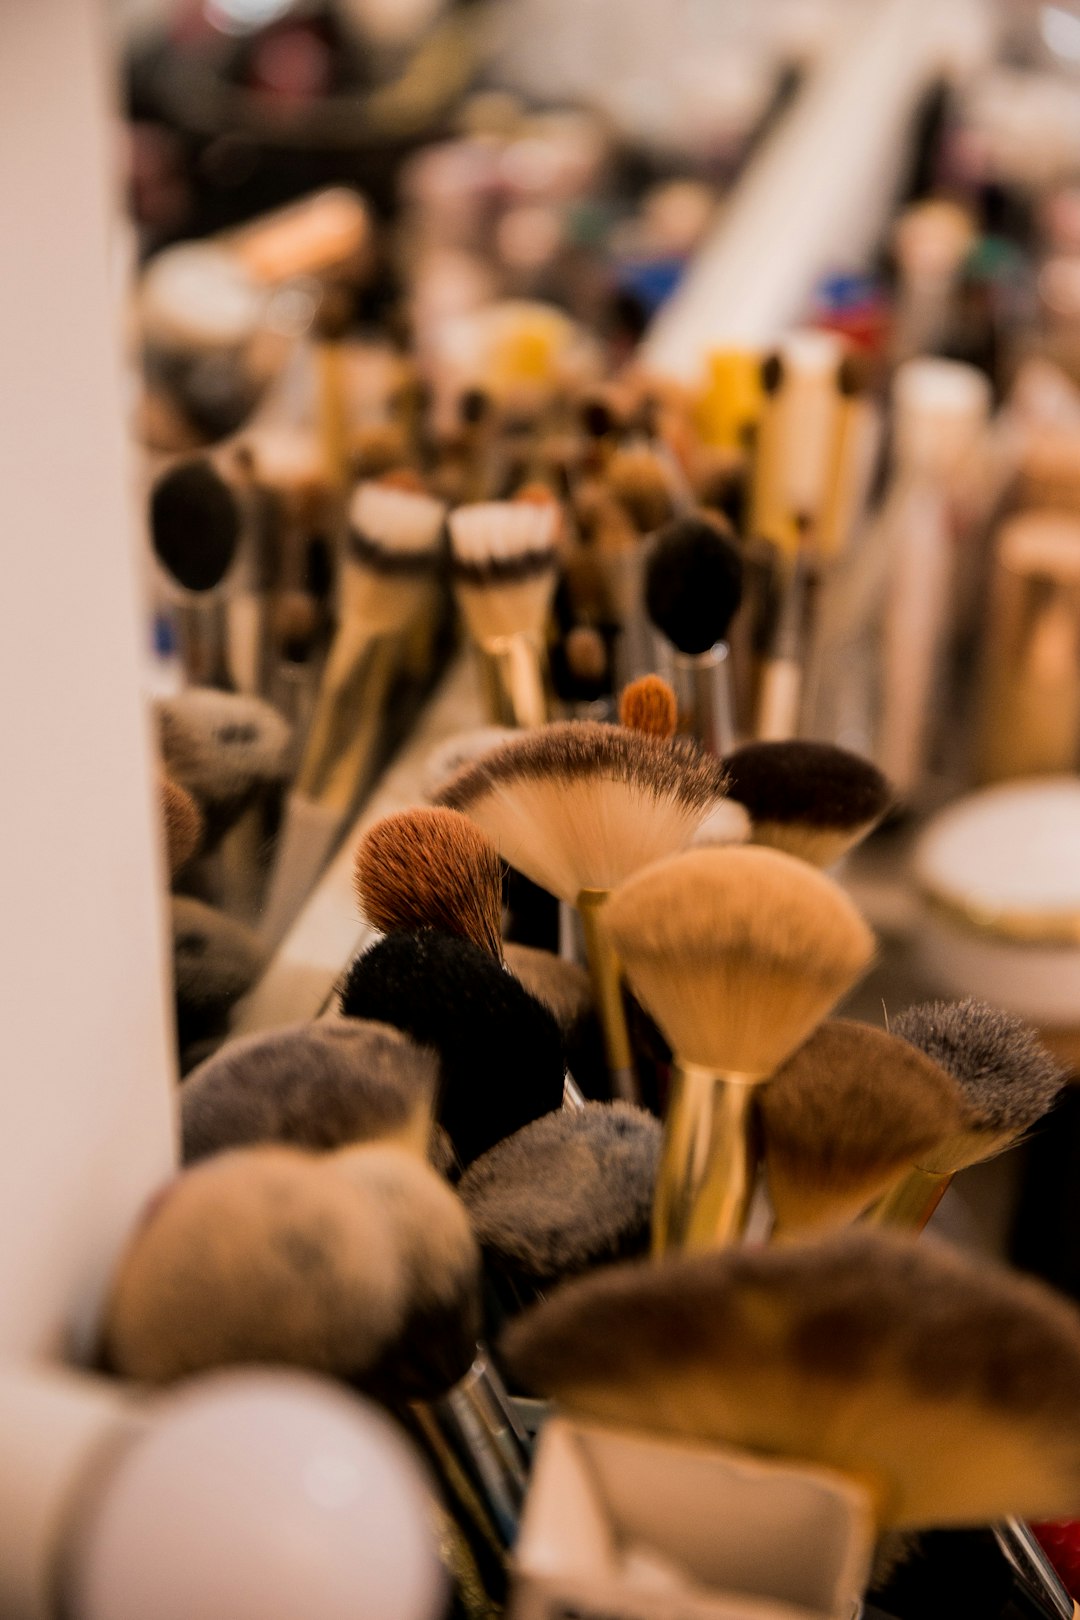
Professional makeup artists rely on quality tools for precision application. Here's what you need in your kit:
Brushes:
- Flat shader brush for applying base colors
- Fluffy blending brush for seamless transitions
- Small precise brush for detail work
- Smudge brush for softening liner
- Angled brush for eyeliner and brow definition
Additional Tools:
- Eyelash curler for opening up the eyes
- Spoolie brush for grooming and blending brow products
- Cotton swabs for clean-up and precise corrections
- Eyeshadow primer to increase longevity and color payoff
Professional tip: Clean your brushes regularly to maintain their performance and prevent eye infections. Spot-clean after each use and deep-clean weekly.
Creating a Flawless Eye Makeup Base
A proper base is crucial for long-lasting, crease-free eye makeup:
- Start with skincare: Apply a lightweight eye cream and allow it to fully absorb before makeup application.
- Prime the eyelids: Apply a small amount of eyeshadow primer from lash line to brow bone. For oily lids, set with a translucent powder.
- Color correct if needed: For discoloration or visible veins, apply a thin layer of concealer or color corrector before setting with powder.
- Create a clean canvas: Apply a neutral base shadow close to your skin tone all over the lid to create a smooth surface for other colors.
Professional tip: If you don't have an eyeshadow primer, a small amount of concealer set with translucent powder can work as an alternative.
Eyeshadow Application Techniques for Different Eye Shapes
Professional visagistes adapt eyeshadow placement to enhance each eye shape:
For Almond Eyes:
Considered the "ideal" eye shape with versatile styling options:
- Apply medium shade in the crease and blend upward
- Place darker shades on the outer V and lighter shades on the center of the lid
- Most eyeshadow styles work well, so experiment freely
For Round Eyes:
To create the illusion of elongation:
- Focus darker shades on the outer corner, extending outward and upward
- Apply lighter shades to the inner corner and center of the lid
- Avoid applying dark colors all around the eye, which can enhance roundness
For Hooded Eyes:
To create the illusion of more lid space:
- Apply transition shade slightly above the natural crease so it's visible with eyes open
- Focus darker shades along the lash line and blend upward gradually
- Use matte formulas on the hood to minimize the appearance of heavy lids
- Keep shimmer shades on the center of the mobile lid only
For Monolid Eyes:
To create dimension without a natural crease:
- Use gradient technique with darker colors near the lash line, gradually lightening as you move upward
- Create depth with darker shadow along the upper lash line, smudged and diffused upward
- Apply shimmer to the center of the lid to create a focal point
For Downturned Eyes:
To lift the appearance of the outer corners:
- Apply darker shades on the outer third of the eye in an upward angle
- Keep the darkest colors above the natural downturn
- Focus highlighting shades on the center and inner corner of the lid
For Deep-Set Eyes:
To bring forward the recessed eyes:
- Apply lighter, reflective shadows on the mobile lid
- Use medium-toned transition shades sparingly on the crease
- Avoid dark colors in the crease which can make eyes appear more recessed

Eyeshadow placement guide for enhancing different eye shapes
Eyeliner Techniques for Different Eye Shapes
The right eyeliner application can dramatically enhance your eye shape:
For Almond Eyes:
- Classic winged liner works beautifully
- Can handle thickness along the entire lash line
For Round Eyes:
- Extend liner beyond the outer corner with an upward flick
- Keep the line thinner at the inner corner and gradually thicken toward the outer edge
- Avoid fully lining the waterline, which can make eyes appear smaller
For Hooded Eyes:
- Create a "batwing" liner that accounts for the hood when eyes are open
- Apply with eyes open to ensure visibility
- Keep the line thin along the lash line to maximize lid space
- Consider "tightlining" (applying liner between lashes) to define eyes without taking up lid space
For Monolid Eyes:
- Create a thicker line that's visible when eyes are open
- Extend the wing outward rather than upward
- Consider a subtle winged liner that follows the natural eye shape
For Downturned Eyes:
- Start the wing before reaching the outer corner
- Angle the wing upward to create a lifting effect
- Keep the lower lash line clean or use lighter colors
For Deep-Set Eyes:
- Apply liner as close to the lash line as possible
- Use softer, smudged liner instead of sharp lines
- Consider a thin line with a subtle wing
Professional tip: For beginners, start with a pencil liner and trace over it with liquid or gel for a more precise line. Use small, connected strokes rather than trying to create one continuous line.
Mascara Application for Maximum Impact
Mascara is the finishing touch that brings eye makeup to life:
- Curl your lashes: Position the curler at the base of your lashes, pulse gently 3-5 times, then move to mid-lash and repeat.
- Apply mascara strategically: Wiggle the wand from roots to tips, focusing on the base to create lift.
- Layer thoughtfully: Apply 2-3 coats for maximum impact, allowing each coat to partially dry before the next.
- Address clumps immediately: Use a clean spoolie to separate lashes while mascara is still wet.
For different eye shapes, adjust your mascara application:
- For round eyes: Focus on the outer lashes to create an elongated effect
- For downturned eyes: Emphasize the center and outer lashes, curling them extra well
- For hooded eyes: Curl lashes extensively and use waterproof formulas to maintain the curl
- For small eyes: Avoid heavy mascara on lower lashes, which can close the eye
Creating Three Classic Eye Looks
With your understanding of eye shapes and techniques, let's explore three versatile looks:
1. Everyday Natural Eye
Perfect for work, daytime events, or a fresh-faced look:
- Apply a neutral base shadow all over the lid
- Blend a soft medium-toned shadow into the crease (adjust placement based on your eye shape)
- Add definition with a slightly deeper shade on the outer corner
- Highlight the inner corner and brow bone with a subtle shimmer
- Apply a thin line of brown or soft black liner along the upper lash line
- Finish with two coats of defining mascara
2. Classic Smoky Eye
Timeless evening look that works for special occasions:
- Apply a shadow primer and set with a neutral base
- Blend a medium-toned transition shade in the crease
- Apply a dark shadow (black, deep brown, or navy) on the outer V and along the lash line
- Blend the dark shade inward, diffusing toward the center of the lid
- Add a lighter shimmer shade to the center of the lid for dimension
- Apply pencil liner to the upper and lower lash line, then smudge with a brush
- Finish with several coats of volumizing mascara
3. Soft Glam Cut Crease
Modern, defined look that enhances all eye shapes:
- Apply eye primer and set with translucent powder
- Create a soft arc with a medium-toned shadow slightly above your natural crease
- Deepen the crease with a darker shade, keeping the line defined but soft
- Cut the crease by applying concealer on the mobile lid with a flat brush
- Set the concealer with a light shimmery shadow
- Apply winged liner along the upper lash line
- Finish with false lashes or several coats of mascara

From left to right: Natural eye, classic smoky eye, and soft glam cut crease
Troubleshooting Common Eye Makeup Issues
Even professional makeup artists encounter challenges. Here are solutions to common problems:
Eyeshadow Fallout
- Apply eye makeup before foundation
- Hold a tissue under your eye during application
- Tap excess product off brushes before applying
- Use a setting spray on your brush before picking up shimmer shades
Creasing Eyeshadow
- Always use an eyeshadow primer
- Set cream products with powder
- Apply less product to areas that crease
- Consider waterproof formulas for oily lids
Smudging Eyeliner
- Use waterproof formulas
- Set pencil liner with a matching eyeshadow
- Apply translucent powder under the eye area
- Consider using a primer specifically for the lower lash line
Clumpy Mascara
- Wipe excess product off the wand before applying
- Use a lash comb to separate lashes between coats
- Replace mascara every 3 months to prevent dry, clumpy formulas
- Avoid pumping the wand, which introduces air and dries out the product
Final Thoughts
Eye makeup is truly an art form that allows for endless creativity while enhancing your natural features. Remember that professional makeup artists have spent years perfecting their techniques, so be patient with yourself as you practice.
The most important aspect of beautiful eye makeup is blending. Take your time to create seamless transitions between colors, as this is what distinguishes professional application from amateur attempts.
Embrace your unique eye shape and customize these techniques to highlight your natural beauty. With practice and the right approach, you'll master the art of creating the perfect eye look for any occasion.
In our next article, we'll explore lip color techniques for every season, so stay tuned for more professional beauty insights!