Contouring and highlighting are powerful techniques used by professional makeup artists to enhance facial features and create dimension. When done correctly, these techniques can transform your makeup look, bringing out your best features.
Understanding the Science Behind Contouring and Highlighting
Before diving into techniques, it's important to understand the basic principles of light and shadow that make contouring and highlighting work:
- Shadows (Contouring): Areas that appear recessed or further away from the light source
- Light (Highlighting): Areas that catch the light and appear to come forward
Professional visagistes understand that by strategically placing darker shades (contour) in areas you want to recede and lighter shades (highlight) in areas you want to bring forward, you can create the illusion of altered facial structure.
Essential Tools for Contouring and Highlighting
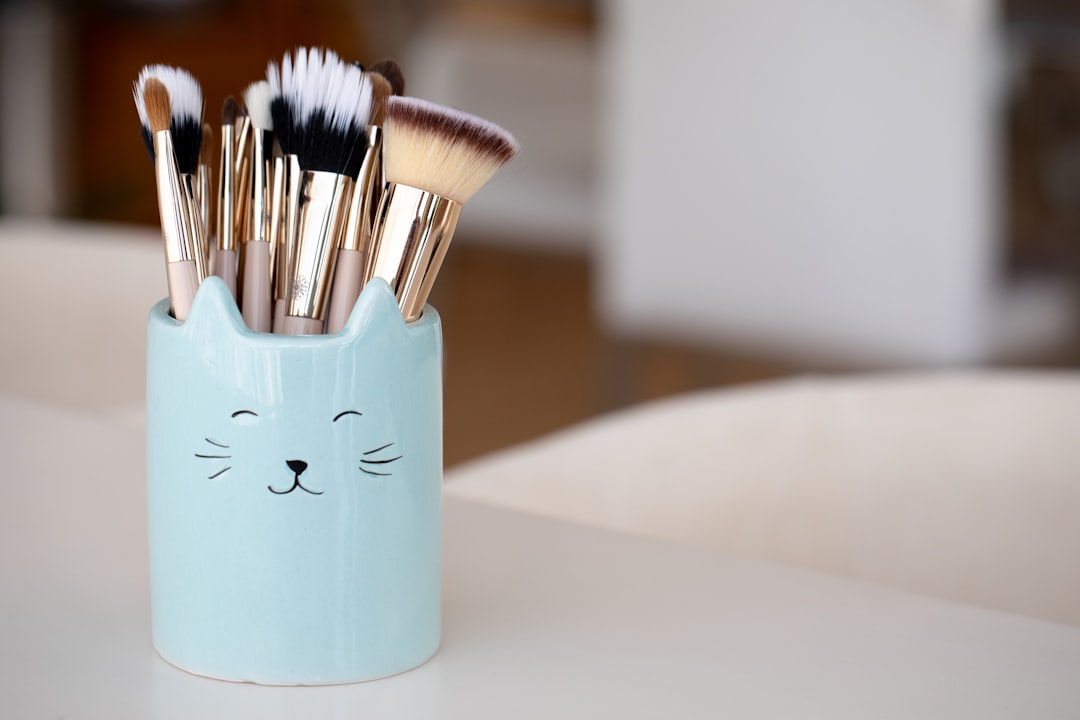
Having the right tools is crucial for achieving a flawless contour and highlight. Here's what professional makeup artists recommend:
For Contouring:
- Angled contour brush or small fluffy brush for precise application
- Contour powder (matte) or cream that's 1-2 shades darker than your natural skin tone
- Blending brush for seamless transitions
For Highlighting:
- Fan brush or small tapered highlighting brush
- Highlighter (powder, cream, or liquid) that complements your skin tone
- Setting spray to enhance glow and longevity

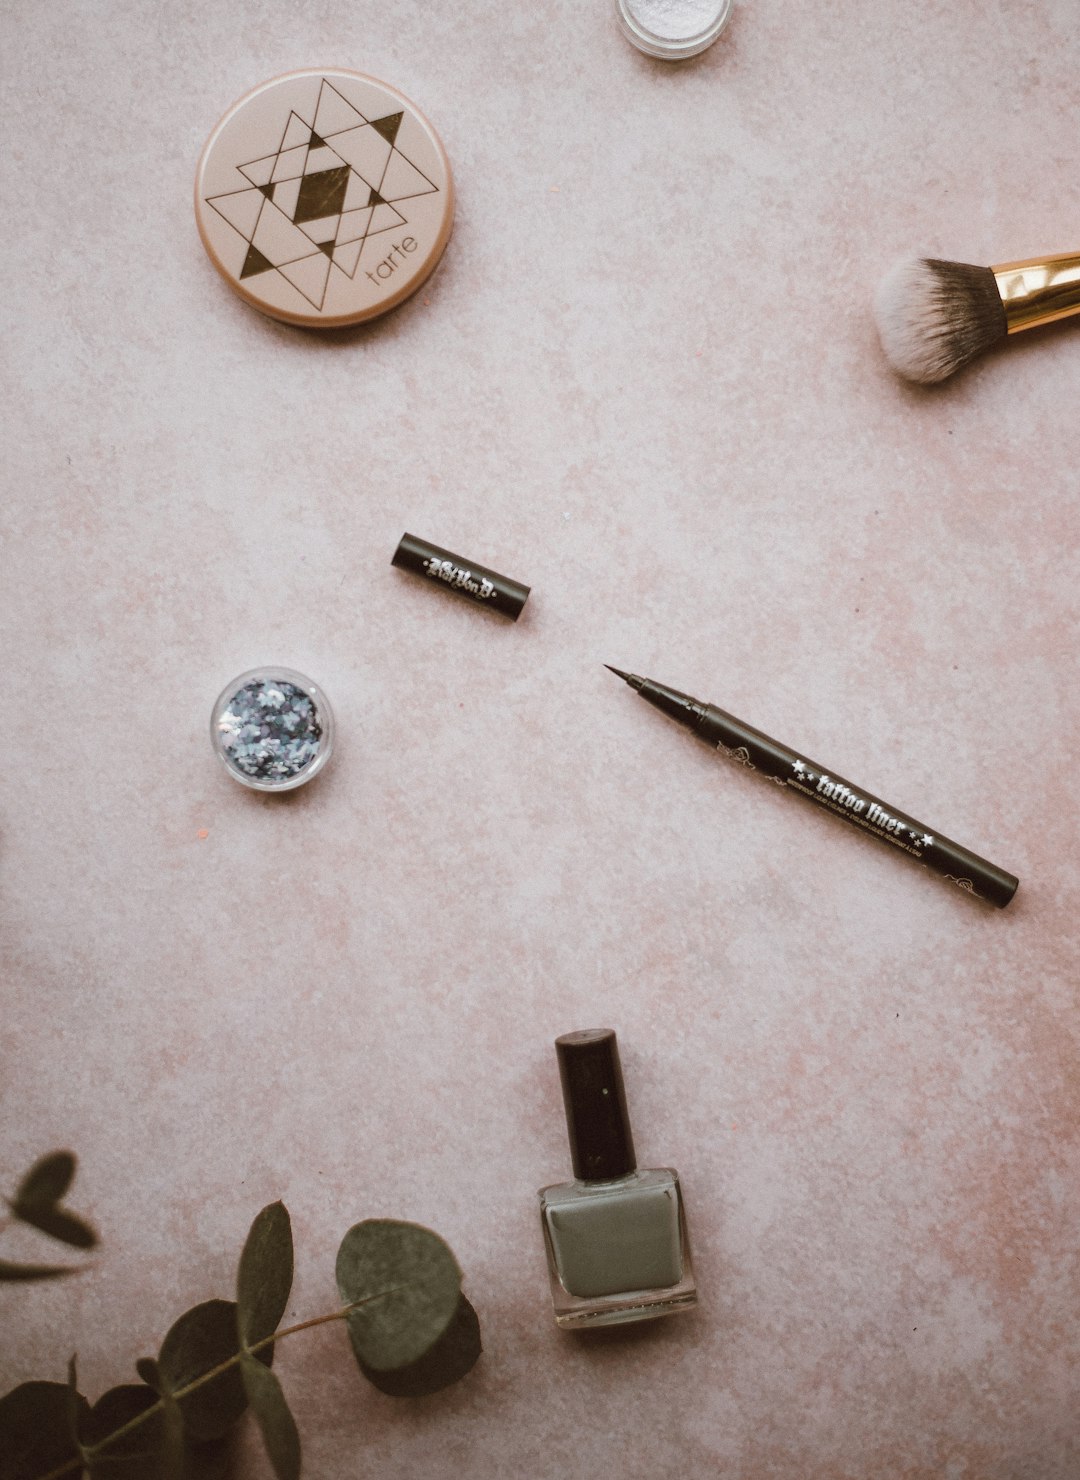
Essential tools and products for professional contouring and highlighting
Choosing the Right Products for Your Skin Type
The formula you choose should complement your skin type for the most natural-looking results:
- Dry skin: Cream or liquid formulas provide hydration and blend seamlessly
- Oily skin: Powder products last longer and help control shine
- Combination skin: Consider using different formulations for different areas or opt for a versatile powder that can be applied wet or dry
Professional tip: For the most natural-looking contour, choose a shade with the right undertone. Cooler, grayish-brown shades mimic natural shadows best, while warmer bronzers are better for adding warmth rather than true contour.
Contouring Techniques for Different Face Shapes
Professional visagistes always adapt contouring techniques to enhance each client's unique face shape. Here's a guide for the main face shapes:
Oval Face
Considered the "ideal" face shape, oval faces need minimal contouring:
- Light contour along the temples, jawline, and hairline
- Subtle contour under the cheekbones
Round Face
The goal is to create more definition and length:
- Apply contour along the temples and jawline
- Create a defined cheekbone contour slightly higher than your natural cheekbone
- Consider a subtle contour along the sides of the nose
Square Face
Soften angular features while maintaining definition:
- Focus contour on the corners of the forehead and jawline to soften
- Apply contour under the cheekbones, blending well
Heart-Shaped Face
Balance a wider forehead with a narrower chin:
- Apply contour at the temples and along the hairline
- Contour under the cheekbones, focusing on the outer areas
- Avoid heavy contour on the jawline and chin
Diamond Face
Soften the angular cheekbones while adding structure elsewhere:
- Apply contour to the temples and jawline
- Use very light contour on the cheekbones
- Consider adding contour to the chin area

Contouring placement guide for different face shapes
Where to Apply Highlighter
Unlike contour, which varies significantly by face shape, highlighting is more universal. Professional makeup artists typically apply highlighter to these key areas:
- Top of the cheekbones (the highest point when you smile)
- Bridge of the nose (avoid the tip if you have oily skin)
- Center of the forehead
- Cupid's bow (the "M" shape above your upper lip)
- Inner corners of the eyes
- Brow bone (just beneath the arch of your eyebrow)
Professional tip: For a more natural glow, avoid applying highlighter to areas with texture or large pores, as it can emphasize these features. Adjust your highlighting based on your skin type—oily skin types may want to use highlighter more sparingly.
Step-by-Step Contouring and Highlighting Tutorial
Follow this professional approach for foolproof contouring and highlighting:
- Prepare your canvas: Apply foundation and concealer as usual, setting with a light layer of translucent powder if needed.
- Map your contour: Using a light hand, apply contour product to the areas you want to recede based on your face shape. Start with less product than you think you need.
- Blend, blend, blend: Using a clean fluffy brush, blend the contour in upward motions to avoid harsh lines. Professional visagistes often spend more time blending than applying.
- Apply highlighter: Tap (don't swipe) highlighter onto the high points of your face where light naturally hits.
- Marry the products: Lightly blend where contour and highlight meet for a seamless transition.
- Set your work: Apply a setting spray to enhance the glow of your highlighter and increase longevity.
Common Contouring Mistakes to Avoid
Even professional makeup artists had to learn these lessons along the way:
- Using products that are too dark or the wrong undertone for your skin
- Applying contour too close to the mouth or too low on the cheeks
- Not blending enough, creating visible streaks or harsh lines
- Over-applying product—remember that less is more, especially for daytime looks
- Using shimmery products for contouring (contour should always be matte)
- Applying highlighter to textured areas or areas with enlarged pores
Daytime vs. Evening Contouring
Professional visagistes adjust their techniques based on lighting conditions and occasion:
Daytime/Natural Light:
- Use lighter shades and less product
- Focus on cream or liquid formulas that blend seamlessly
- Opt for a more subtle highlight with a natural, dewy finish
- Concentrate on key areas only (cheekbones and jawline)
Evening/Artificial Light:
- You can be more dramatic with placement and intensity
- Layer cream and powder products for longer wear
- Use more intense highlighters that will catch the light beautifully
- Consider contouring additional areas like the nose or forehead
Top Product Recommendations
Based on professional experience, these are some standout products for different skin tones:
Contour Products:
- Fenty Beauty Match Stix Matte Skinstick (wide shade range)
- Kevyn Aucoin Sculpting Powder (for fair to medium skin)
- Anastasia Beverly Hills Contour Kit (great for deeper skin tones)
- Charlotte Tilbury Hollywood Contour Wand (foolproof application)
Highlight Products:
- Becca (now Smashbox) Shimmering Skin Perfector (iconic for all skin tones)
- Rare Beauty Positive Light Liquid Luminizer (beautiful on deeper skin)
- Charlotte Tilbury Hollywood Flawless Filter (versatile for a natural glow)
- Dior Backstage Glow Face Palette (multiple options in one palette)
Final Thoughts
Contouring and highlighting are artistic techniques that take practice to master. Professional visagistes develop their skills over years of working with different face shapes and skin tones. Be patient with yourself as you learn, and remember that the goal is to enhance your natural beauty, not completely transform your features.
Start with subtle application and build up gradually as you become more confident. With time and practice, you'll develop an intuitive understanding of how to sculpt and illuminate your unique face shape for truly professional results.
In our next article, we'll explore the art of creating the perfect eye look for different eye shapes and occasions. Stay tuned!